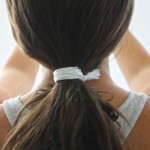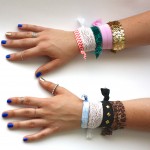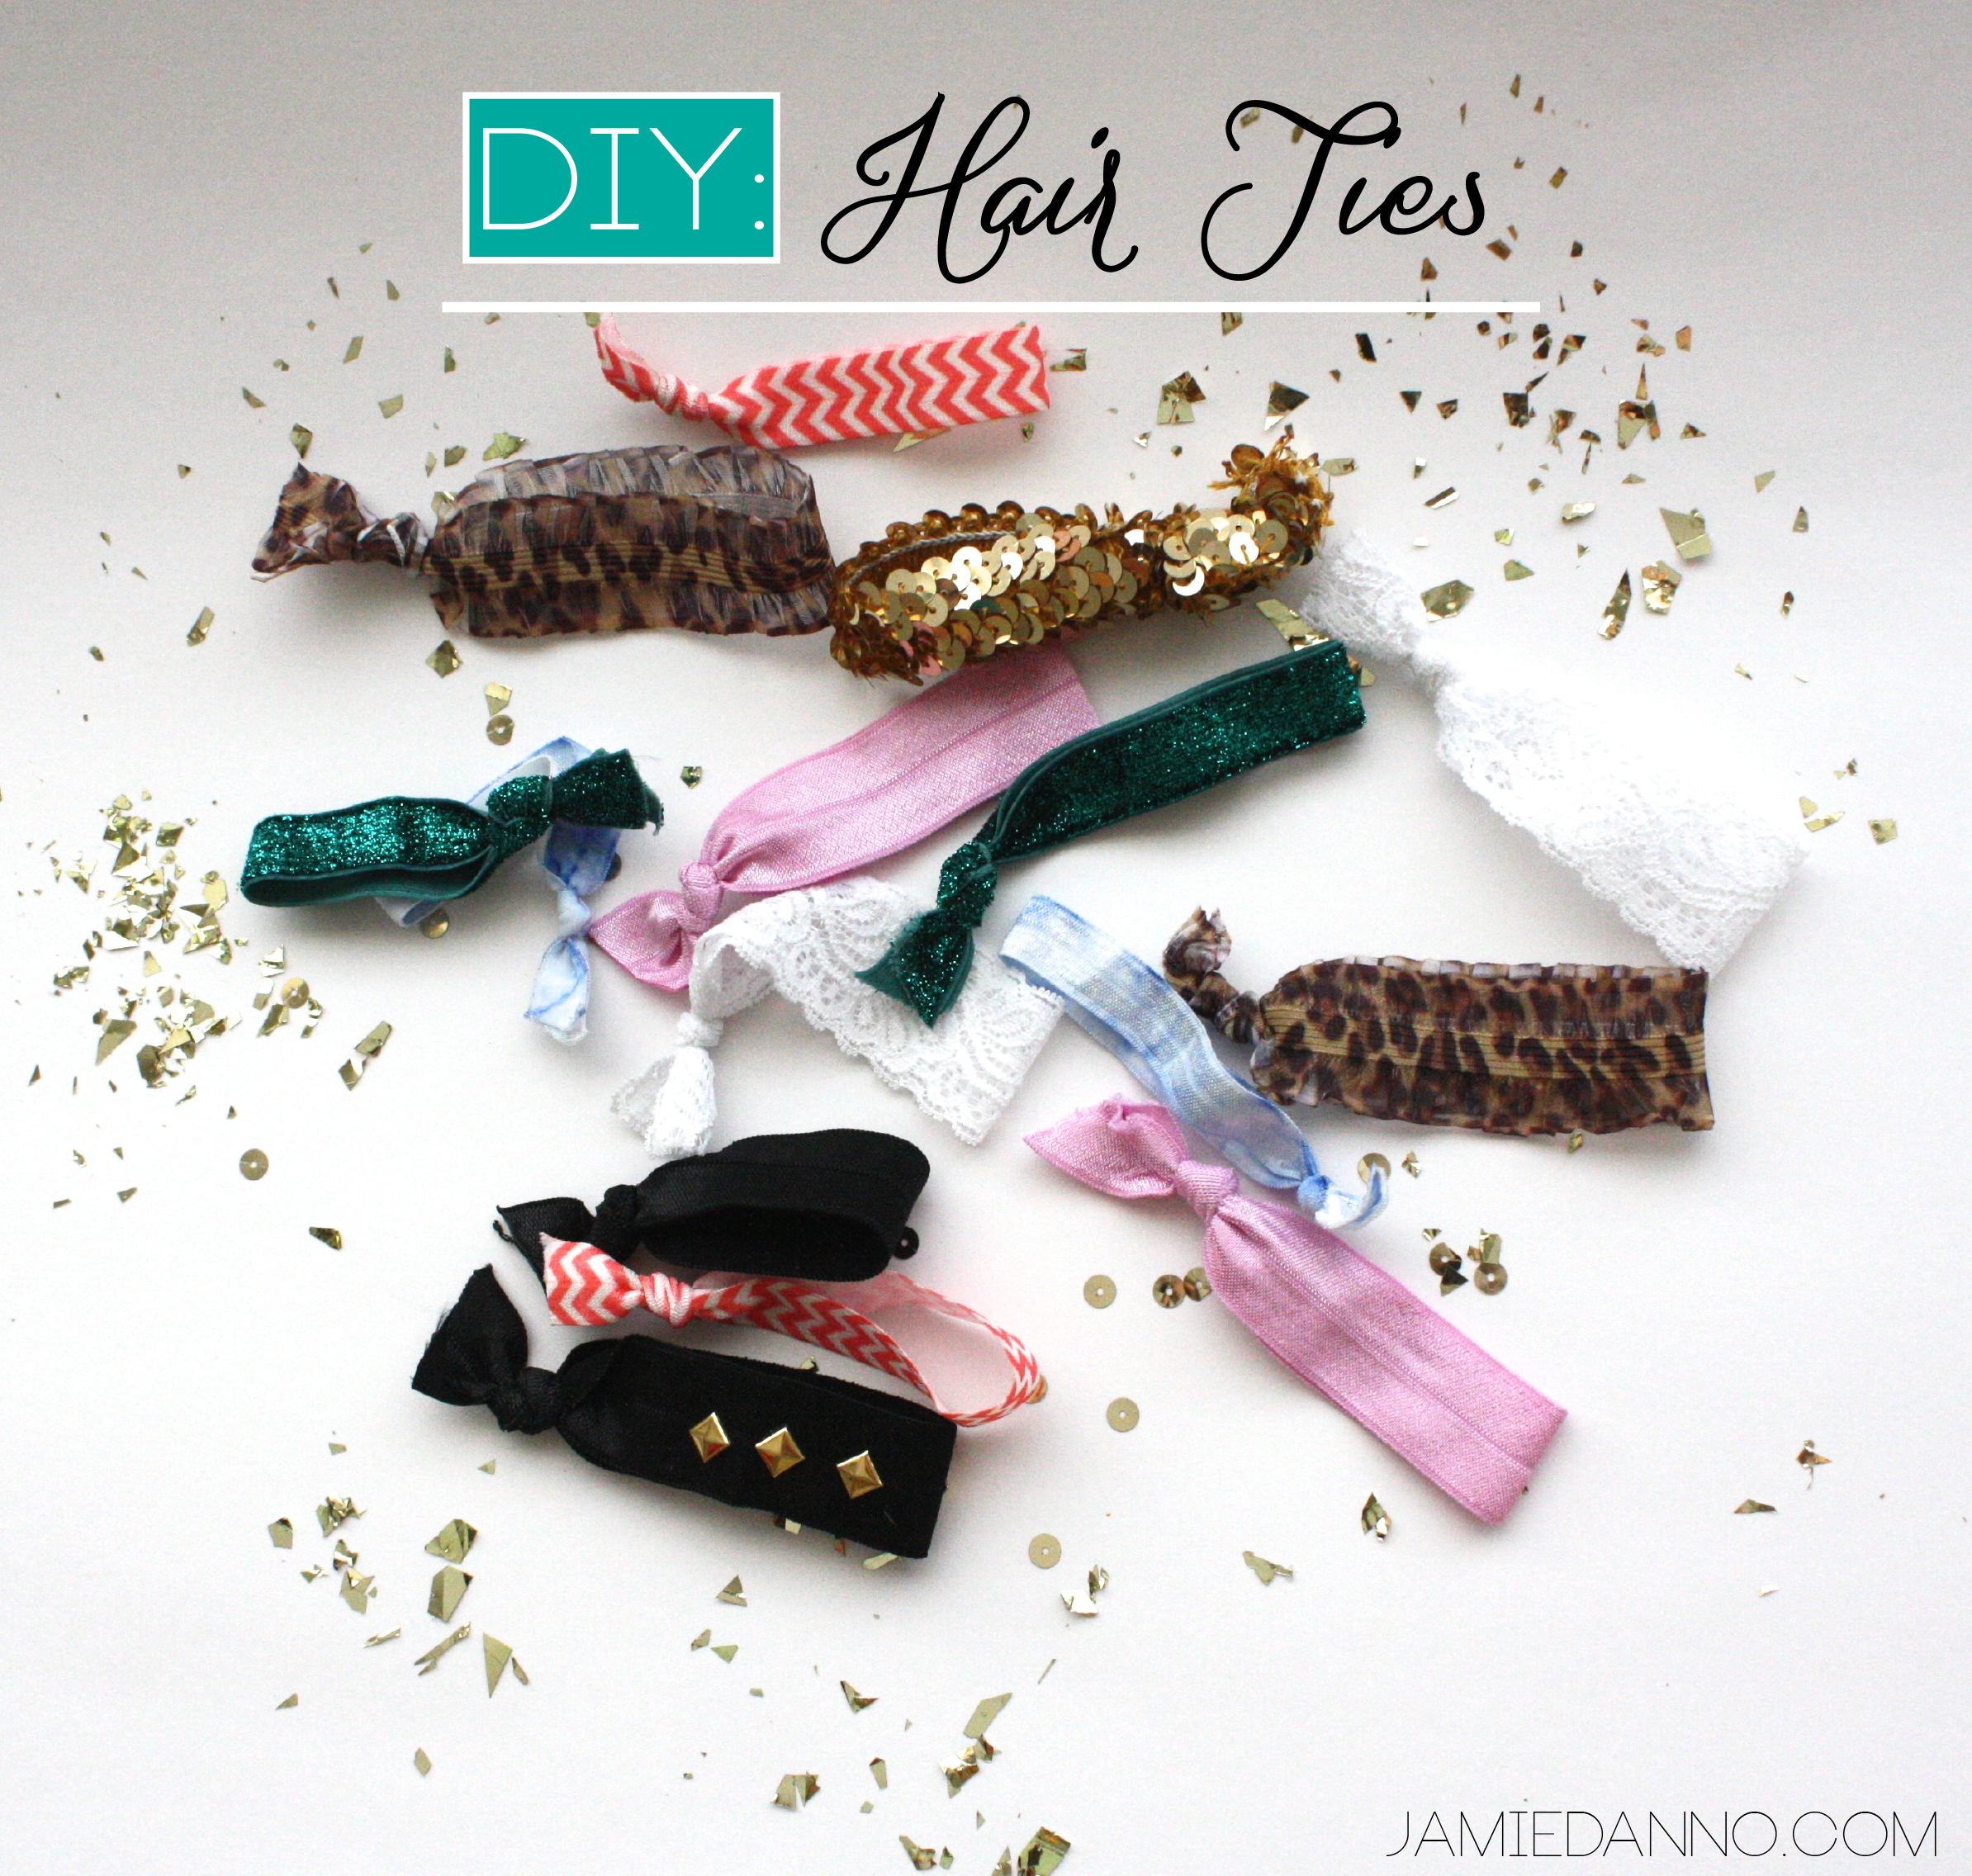
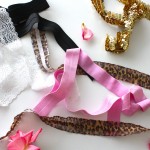
Have you ever found a DIY project, say on Pinterest, and you over commit yourself? Pretty soon, you’ve spent $100 and have all these random supplies, stains, and more wire than you know what to do with. I love creating things. Truly, whether it is designing, cooking, DIY-ing, but there are many times, I get in way over my head. That’s why this DIY is so fun! It’s super cheap, simple, and it is actually something you will use everyday… unlike those cool vintage chalkboard vases that you love so much. These hair ties are nothing new, but I still find them to be one of my favorite accessories. The best part is, they are completely customizable. My favorite is definitely the black with gold studs… always a sucker for anything black and gold. And how cute is the blue tie dye? Totes adorbs right?!
Supplies:
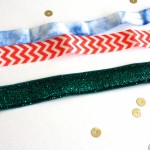
- Get a few yards of your favorite elastic material. You can find such items at your local fabric store. I found all of these at Jo-Anns.
- Buy any embellishments, such as studs, rhinestones, sequins, ect. I prefer to use iron-on for simplicity.
- Scissors
- Measuring tape
Instructions:
- Cut elastic material to about 8-10 inches. Size really depends on how thick your hair is (and how large your wrist is if you plan on wearing these often). My hair isn’t super thick, but I wouldn’t consider it thin, so I choose to make mine about 9 inches and then trim if need be.
- Match up the ends and tie a knot.
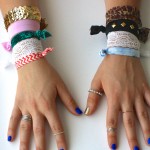
- Add embellishment of choice.
- (optional) Lightly burn ends to seal from unravelling.
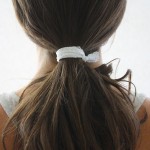
- So simple– now just style and wear!