Name three things that come to mind when you think of summertime fashion? For me hands down summertime fashion means tank tops, cut off shorts and my favorite pair of sandals. Finding the perfect pair of cut offs is a tricky equation these days. I swear every time I try on a pair, they seem to be getting shorter and shorter. For my body type, super short-shorts just are not a good look. Maybe if I was shaped like a boy, I could pull them off… otherwise I can’t be comfortable walking around tugging on them every five seconds. Raise your hand if you feel me? ??
Finding a perfect fit of cut offs is like finding a denim unicorn – they are very rare and once you find them you tend to either: A. buy them in bulk. or B. where them until the no longer have a shape. There are a few brands of shorts I love, but I’m still kind of cheap when it comes to buying clothes. I just can’t stomach spending $100+ on a pair of distressed jean shorts. So, the next best option – make your own.
Lucky for me (or maybe not so lucky), a few of K’s jeans shrunk in the wash and I had the wild idea to try them on before we gave them away to the Salvation Army. I almost died when I found out they fit me like a glove! The waist was a good, slightly high-waisted fit, but the length was too long and they were more of a bootcut style – one that I’m not interested in sporting. My next best option was to turn these cute Levi’s into some cut offs.
Levi’s are the perfect jeans for this DIY tutorial. Due to their durable denim material, you can really create a great/classic distressed-style shorts. If you don’t have a boyfriend whose can lend you pair, LOL go to your local thrift store and purchase a pair at little to no cost! Thrift stores are full of Levi’s, and honestly, the “mom-like jeans” are the perfect ones for this tutorial (you can create a great high-waisted pair!).
Step One: Measure
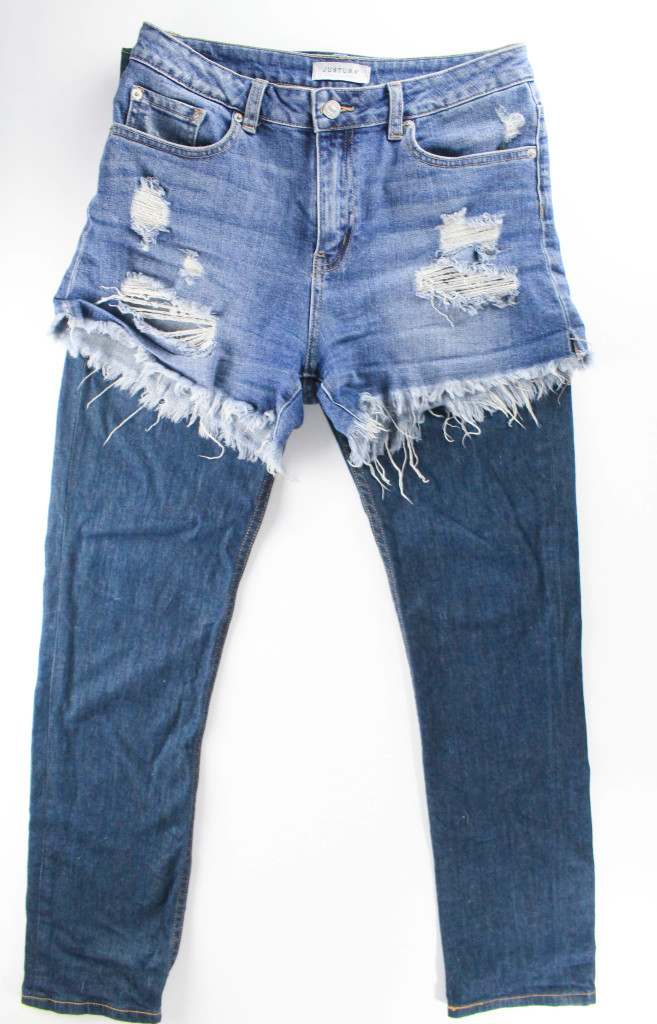
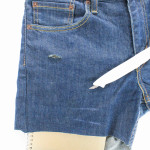
I find this whole process easiest when you have already have a pair of shorts to use a template (see image below). I chose one of my favorite pairs of high-waisted cut off shorts to use when measuring the length of this particular pair of shorts. I like to measure an inch or two below the actual shorts, so that I can leave myself a little room for error. Using my white pencil, I trace along the botton of the shorts, marking where to cut on the pant leg of my Levi’s. I like to create a V shape from the center of the shorts going outward toward each leg. I think this shape is the most flattering for cut offs, and it will avoid having the shorts be too short. Another tip, I also like to have the back of the shorts be an inch or two longer then the front. We don’t want any booty hanging out, now do we ??
I find it helpful to put the pants on prior to cutting to make sure you have your lines just where you want them. This will help you visualize how long the shorts will be. I tend to also go over my markings with my pencil a second time to verify where I want my first cuts to be.
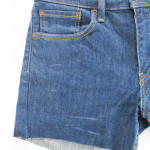
Step Two: Cut
It is now time to cut. I often cut the pants shorter first into capris, so that the material is easier to handle. Next, I cut along the white markings I made. Pro Tip: When you go in to cut the center of the short (along the crotch area) be sure to maintain that round shape as you cut. As you will below, I cut downward just slightly along the center of the shorts and round it as I cut along the backside of the shorts.
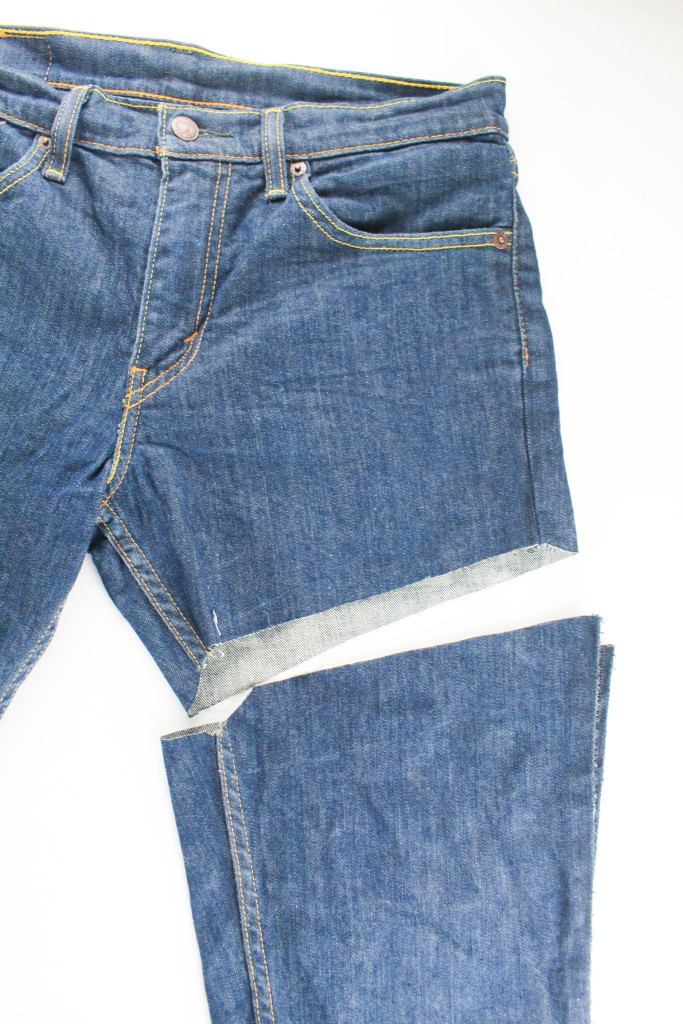
After you finish one leg, I usually line up the two legs and cut the other side to make it parallel. Next, I try on the shorts to check for length and then repeat step one if I have any shortening or adjusting to do.
Step Three: Distress (optional)
This step depends on your style and preference, but I personally like distressed style cut off shorts. This step can be fairly simple, or a bit tedious depending on how much you want to distress your shorts. I first start by taking my white pencil and making the markings where I want to distress. These markings can be as long or as short as you want. You really can’t go wrong here. Just be cautious of where the markings will be (and what areas of your leg they may expose). I also like to mark the pockets (both front and back) to give the shorts an overall distressed look.
Next, I take my exacto knife (or you can use scissors as well) and I cut along my markings. In this step I usually put a folder, cardboard or something hard inside the shorts, so that I don’t cut through both layers of the shorts, and so that I don’t scratch the surface the shorts are on.
From here you can do one of two things – skip to Step Four, or wash your shorts, hang dry them, and then continue to step four. I wash my shorts prior, because washing naturally distresses the shorts a little – but again you don’t have to.
Step Four: Distress Continued
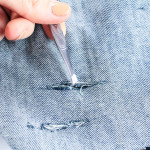
Using your tweezers, you are going to pull out (remove) the blue threads and seperate the white threads where your shorts are distressed. This will leave the white threads, which give you that exposed grunge/hole look (see image below). This is the tedious part because it can be hard to find the blue threads and depending on how big you want your holes, it may take awhile. But it is worth it because the outcome looks great!
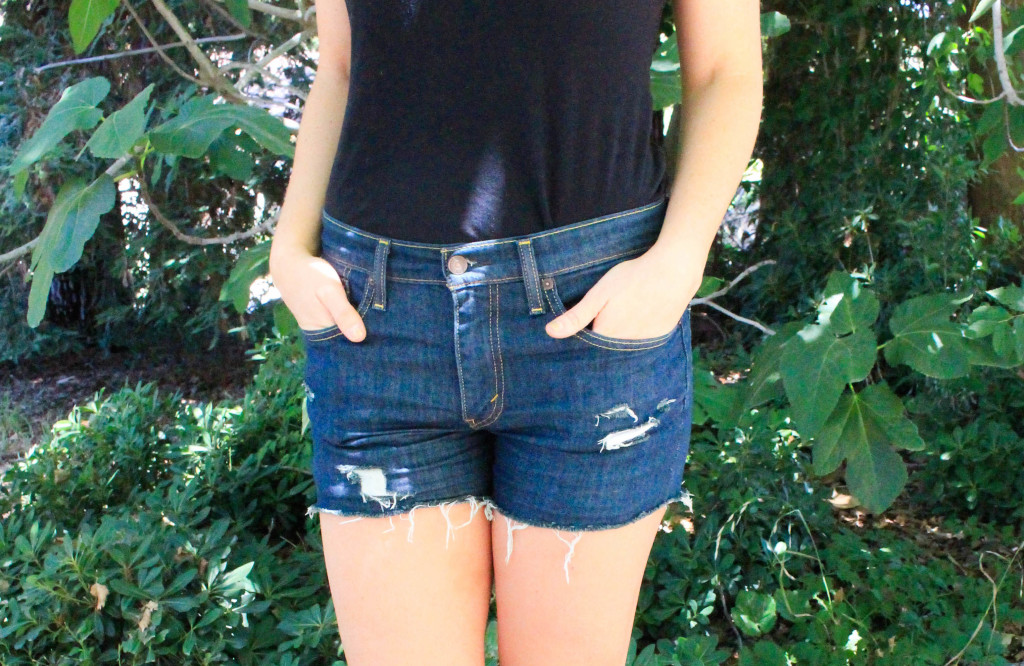
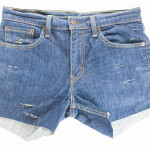
And that’s it! You now have perfect fitting, cut off shorts at a fraction of the price!